3D print the parts
If your design includes printed parts (canopy, mounts, soft-mounts, sometimes the frame), DRONA gives you a ready-to-slice plate with per-part settings.
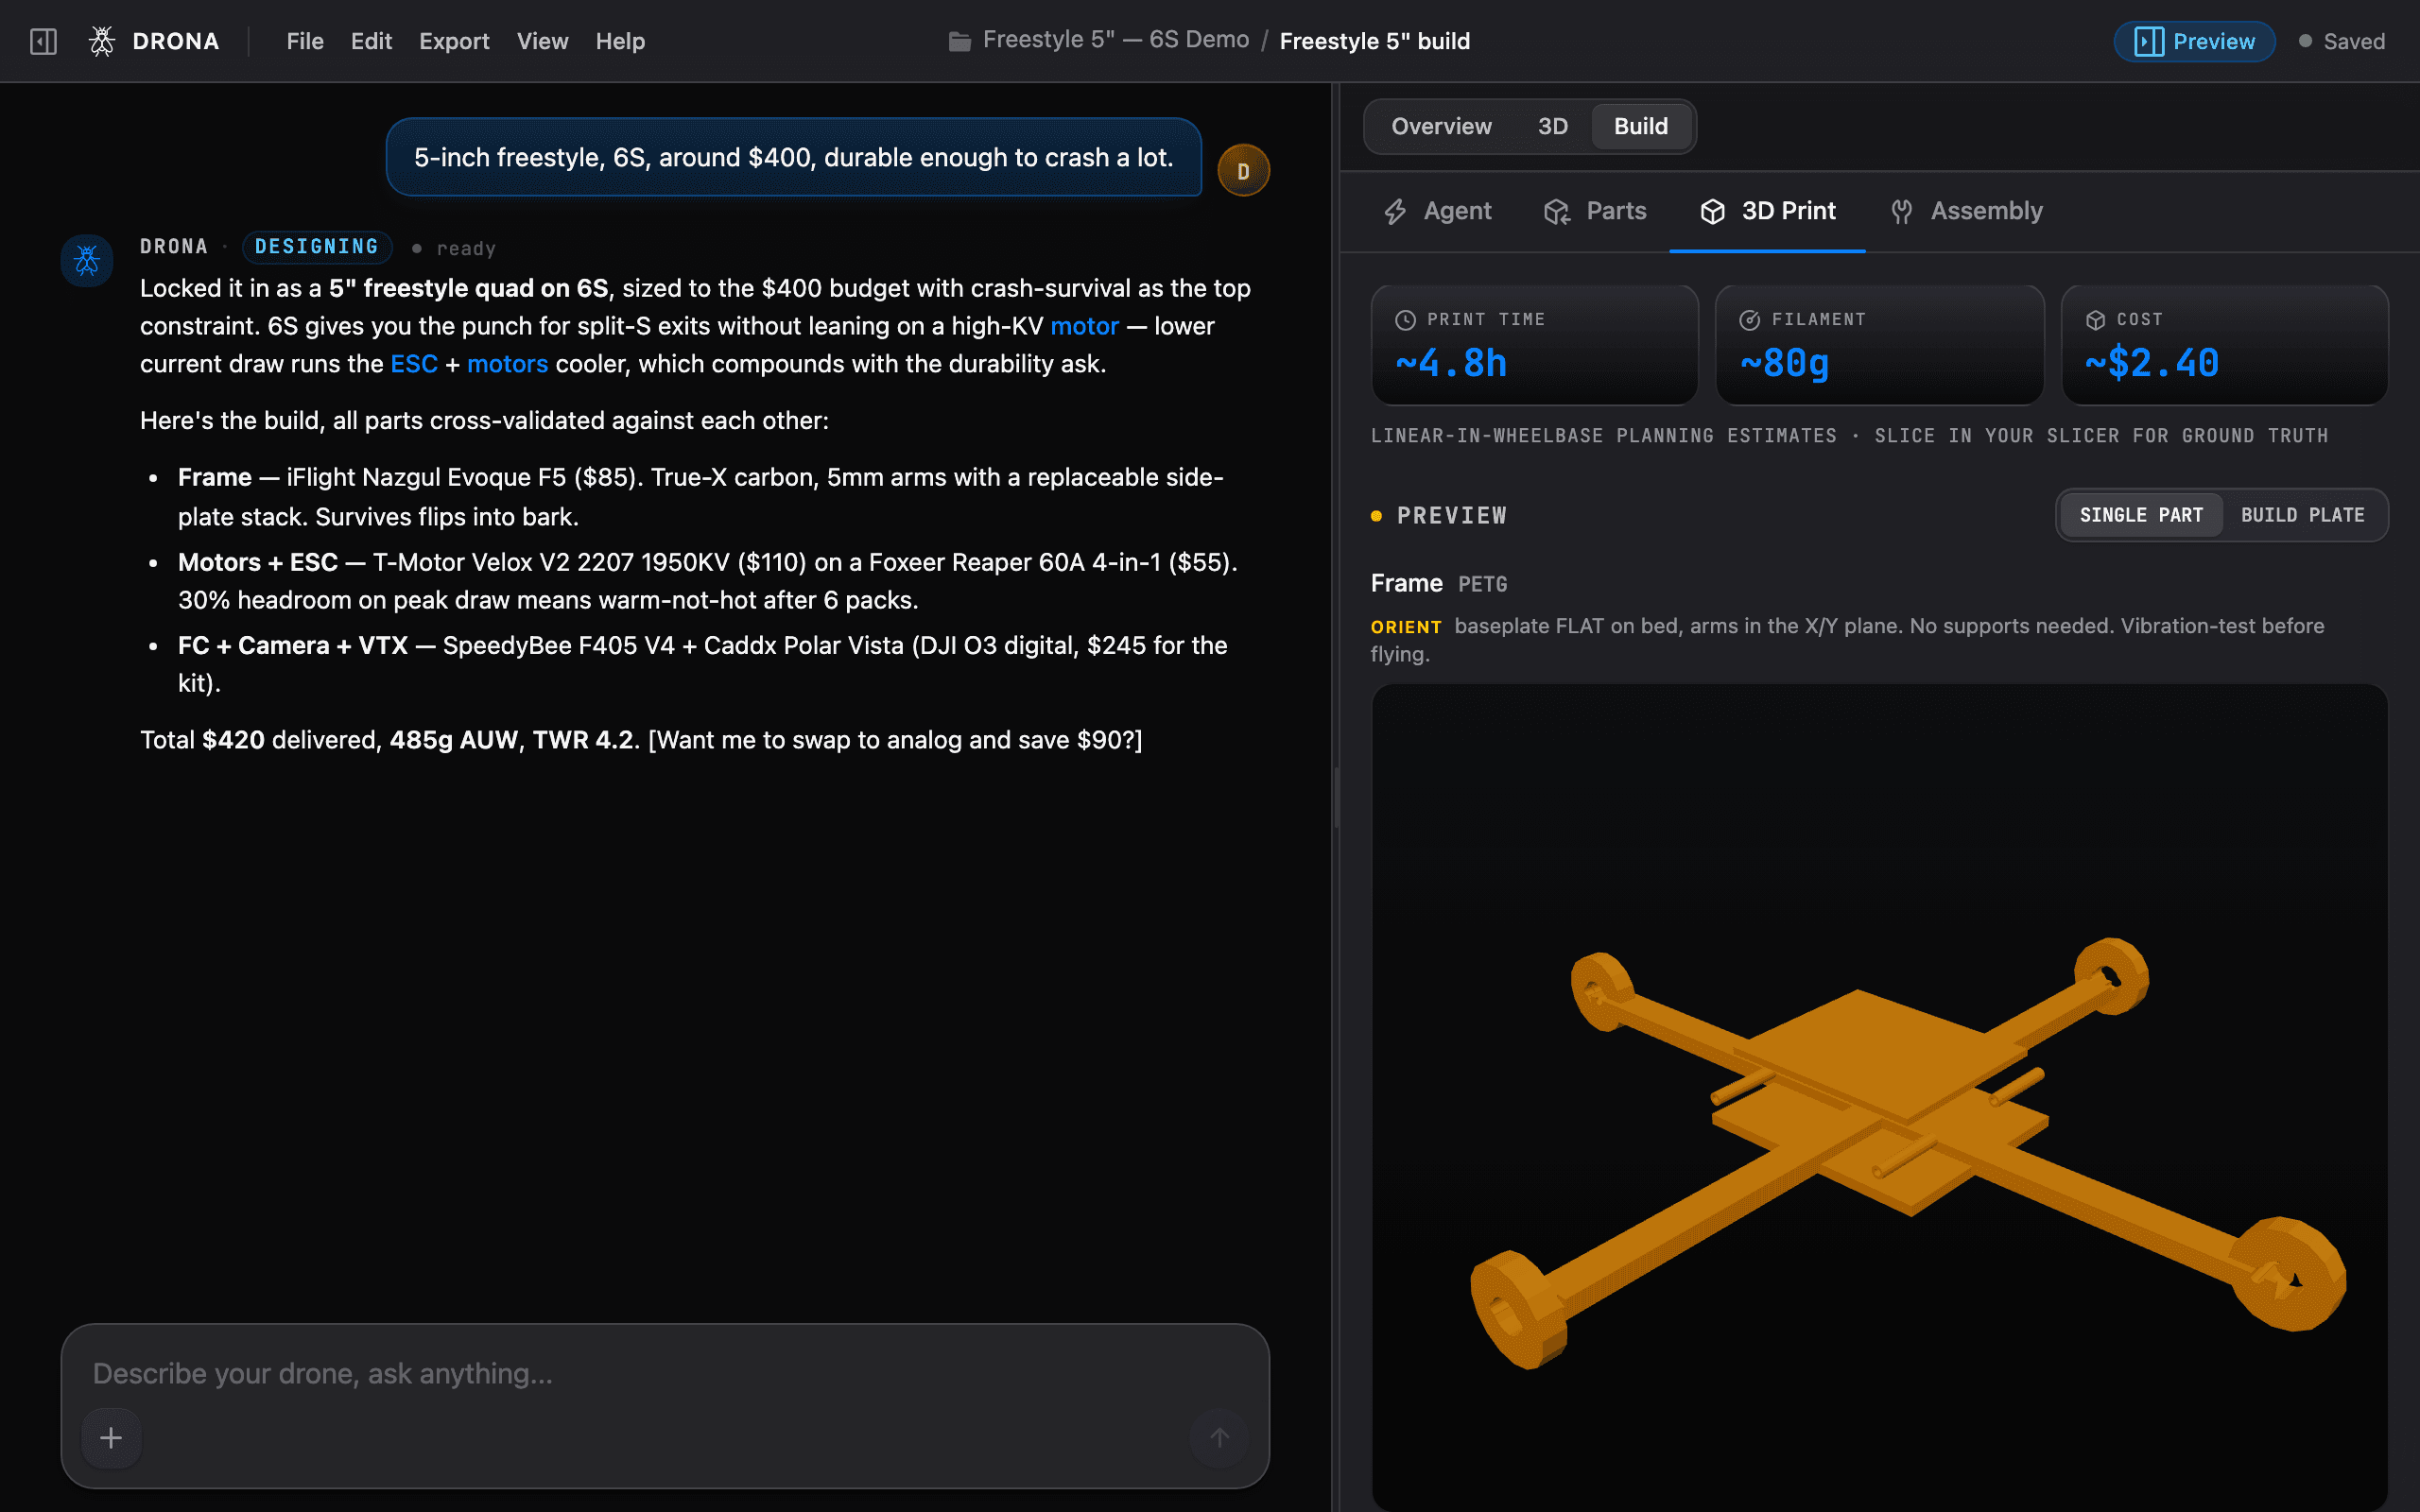
What you get
- A print plate with the parts arranged and packed.
- Recommended slicer settings per part (perimeters, solid layers, infill, seam position, brim, orientation).
- A material recommendation for your use case, with the trade-offs spelled out (for example a tougher blend for a freestyle frame that will crash a lot).
- A readiness check that tells you whether the parts fit your printer bed and pack cleanly before you slice.
How to print
- Export the parts as STL or 3MF (3MF carries the per-part settings). See Exports & files.
- Load them in your slicer and apply the recommended settings, or import the 3MF to get them automatically.
- Use the recommended material and orientation, orientation matters a lot for strength on load-bearing parts like arms.
- Slice and print.
Orientation is not cosmetic. A printed arm or mount is much stronger along the print layers than across them, so follow the orientation hint, especially for parts that take crash loads.
No printed parts in your design? Skip this step entirely and go straight to Assemble it.
Last updated on